One week game development project
January 4, 2023

TLDR: if you just want to play the game click here
Let's make a game. But why?
I'm on work assignment in Japan and they have quite many public holidays around new years. Most places are closed during this time so instead of traveling around I decided to challenge myself with a solo game jam. I've always been somewhat interested in game development, but never quite had the time or motivation to properly learn it. I decided to make a game in seven days from scratch. As a software developer with no game development experience I wasn't quite sure what I was getting into.
Day 1
The first day was mostly spent on deciding which game engine to use. After some comparisons and research I decided to give Bevy a try. Bevy is an ECS based game engine for Rust. I really like the premise of the engine even though it's quite barebones.
The first day I only implemented some basic player movement.
Day 2
I started experimenting with physics. I chose to use Rapier as a physics engine as it seemed the most popular. It was really confusing but I got something working after a lot of trial and error.
What you are seeing above is not actually fully Rapier physics because I was doing it wrong. I was manually reversing and damping the velocity on collision. This kind of broke down once you got into close contact like sliding. What later helped me understand and setup Rapier correctly was this presentation by Nathan Stocks. It simply setup some components for the entities that handle all the collisions and dampening automatically. I wish the Rapier Bevy plugin getting started documentation was a bit more like this video.
On the second day I also did some Tilemap experimentation with LDtk. With a plugin I got LDtk levels imported to the game quite easily. However, after importing it I kind of got stuck not being able to continue development. I think this was due to a lack of understanding of how the plugin and LDtk worked. I decided to ditch the LDtk approach to make progress in the actual game.
Day 3
On the third day I created a basic game loop. The purpose of the game is to eat all red slimes. When you eat a slime you grow in size, which will help you finish eating them all.
Day 4
Now that there was a "complete" game, I decided to add a menu and game over screen. It's quite verbose to declare plugins for the game states. However, the UI components themselves were quite nice with CSS flexbox like styling. I wanted to add some settings menu, but I didn't really have any settings to change. So in order to save more time to making the game better I left it out of scope.
Day 5
Scaling the player made it look very bad and pixelated so I changed the gameplay a bit. Instead of running into red slimes, from now on one should avoid them. I added some weapons to help deal with the evergrowing slime population.
Day 6
Adding more features.
- Local coop
- Health for enemies
- New weapon for player 2
- Stronger enemy slimes that move towards player
- I couldn't figure out how to make an image as an infinite tiled background. So I just added a colored background with some lines drawn with Lyon.
Day 7
Final polish.
- Update all assets to be original. Instead of zooming camera I just made assets bigger.
- Red zone that kills player. I wanted to make it a circle but I didn't have time to figure out how to punch a hole in a square in Lyon.
- Indicator when weapon is ready to use. This was surprisingly easy with child entities and sprite visibility toggling.
- Remove redundant screens. The game over screen was almost the same as start screen and the splash screen just looked like some loading issue.
Building to web assembly
To my surprise I did not need to change anything in my source code in order to build the game in wasm. Adding it to my website was trivial. Really nice experience overall.
cargo build --release --target wasm32-unknown-unknown
wasm-bindgen --out-dir ./out/ --target web ./target/wasm32-unknown-unknown/release/game1.wasm
The above 2 commands was everything necessary to get a js and wasm bundle. To run it you just import the JS bundle and initialize it. Note that if you initialize it automatically the browser might not have permission to play audio. So if your game has sounds you should initialize from a click event.
<script type="module">
  import init from './game1.js'
  init()
</script>
The only gotcha with this setup is it expects your assets to be in a certain relative structure. If you are using a JS framework it might not be trivial to import and run the files correctly. The way I set it up is that I made a new directory to serve static assets from which contains the following.
# In /public/play-slimegame directory (statically served files)

index.html # empty page with above JS init snippet and some styling
game1.js
game1.wasm
assets/player.png
assets/font.ttf
...
Currently it just appends a canvas to the body element. I'll do some research on how to nicely embed it into an existing canvas in a more controlled fashion.
Conclusion
I was quite surprised how the well game turned out taking into consideration this is my first game project. It's not really a complete fun game right now, but with a little bit of more work I could see it being playable.
I struggled quite a lot with developing this because most of my search results only found the official docs rather than a discussion about the specific problem I was trying to solve. The documentation of Bevy and Rapier is a little bit hard to understand for a new game developer. Their examples were invaluable, but I wish they had more complex ones.
Thankfully I stumbled on Unofficial Bevy Cheat Book, which is an amazing resource. It helped me learn Bevy in a more pragmatic way rather than with only trial and error. My only mistake was that I didn't read it earlier. I couldn't have finished the game without it.
My biggest issue was collision detection. It seems like Rapier is more designed for hands off physics simulation. Making your own logic on collisions seems quite unintuitive. The docs explain it only from Rapier API point of view, but do not actually show how to practically do anything with it.
The way Bevy works is you query for entity components in the system parameters. These are super nice type safe ways to access data in the ECS. But what do you do when you only have an entity ID as you'd have from a collision event? I wanted to write a query in the system body, rather than the parameter. The solution was quite obvious in hindsight. Here is an example of it, not from Rapier, but from my custom event.
pub fn handle_damage_event(
  mut commands: Commands,
  mut damage_events: EventReader<DamageEvent>,
  mut enemies: Query<&mut Health, With<Enemy>>,
) {
  for damage_event in damage_events.iter() {
    if let Ok(mut health) = enemies.get_mut(damage_event.entity) {
      health.current_health -= damage_event.damage;
      if health.current_health <= 0.0 {
        commands.entity(damage_event.entity).despawn();
      }
    }
  }
}
The DamageEvent gives us an entity ID and an f32 for the amount of damage the entity should take. We query all the enemies, but the event will only .get_mut the one it's interested in. After I figured this out I started making a lot more progress and was able to actually add the features I wanted.
Update: Day 8, 9 & 10
Seems like monday was a public holiday as well, so I decided to continue developing over the following long weekend.
- Reorganized code into modules
- Created 3 levels (including a bossfight)
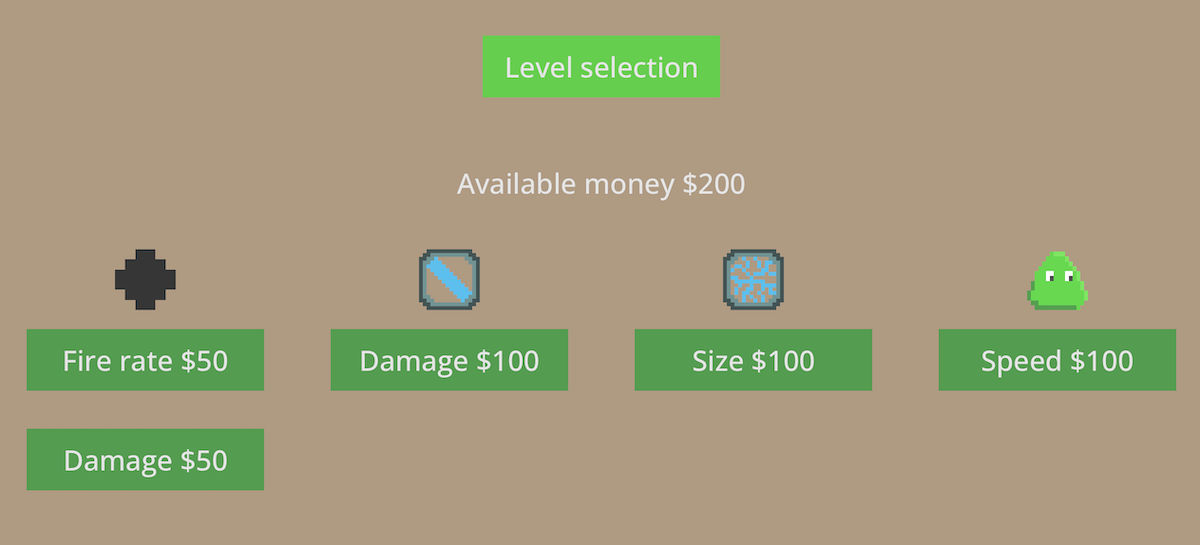
- Added weapon and player upgrades
- Added autosave
It's really amazing how easily you can refactor rust code!
The source code is in my github if you are interested.
Want to give the game a try?
Here is the controls
- arrow keys - player 1 movement
- space - player 1 attack
- wasd - player 2 movement
- q - player 2 attack
Play the game here! (There is no loading indicator, give it a second)