Animated source code svg
October 20, 2022
I had a pretty boring image on my Github profile readme for a long time. I wanted to create some kind of introduction there. When I looked for some inspiration, many people had so much information there that it looked very noisy and messy. I wanted to keep it simple.
I've been building this website for the past few weeks. That has included a lot of handwritten HTML. I got some inspiration from this great article <h1>This page is a truly naked, brutalist html quine</h1>. I wanted a brutalist HTML introduction.
The first version was simply a code block.
```html
<h1>Hi</h1>
<p>
  I'm Jonnie.
  I'm a software developer.
</p>
<a href="//jonniek.github.io">
  Read more...
</a>
```
Resulting in:
<h1>Hi</h1>
<p>
  I'm Jonnie.
  I'm a software developer.
</p>
<a href="//jonniek.github.io">
  Read more...
</a>
This is nice, but I wanted the link to be clickable. It seems possible to add some links to code blocks, but it's very limited and changes the look. In order to get a link I changed the approach from markdown syntax to HTML.
To make the HTML visible we need to use some entity codes.
- < renders as <
- > renders as >
-   renders as a space that can be used for indenting(not necessary now but will be useful later)
So after converting the html tags, wrapping it in a pre and adding a link we have this.
<pre>
<h1>Hi</h1>
<p>
I'm Jonnie.
I'm a software developer.
</p>
<a href="//jonniek.github.io">
<a href="//jonniek.github.io">Read more...</a>
</a>
</pre>Resulting in:
<h1>Hi</h1> <p> I'm Jonnie. I'm a software developer. </p> <a href="//jonniek.github.io"> Read more...</a>
The link works exactly like I wanted, but the syntax highlighting disappeared. There is no easy way to add color to text, since Github strips style elements and attributes. The only way to color text in an arbitrary way is by using an SVG. A nice thing about SVG is that you can animate them quite easily. The downside is that it would probably not be possible to add a granular link. I think the color and some animation are cooler than a nice link.
So let's take a look at a simple animated SVG text.
<svg xmlns="http://www.w3.org/2000/svg" version="1.1" height="40px">
  <path id="example1">
    <animate
      attributeName="d"
      from="m0,25 h0"
      to="m0,25 h500"
      dur="6s"
      begin="0s"
      repeatCount="indefinite"
    />
  </path>
  <text font-size="16" font-family="monospace" fill='#333'>
    <textPath xlink:href="#example1">
      This text is animated in SVG
    </textPath>
  </text>
</svg>
Resulting in:
To not annoy you by endless animations, here on out the example animations will only play when you click them. I'm also removing the animation repeating, so just click them again to replay if you want to.
Let's add a background so you can see where to click. To create a background for the text let's use a <rect> element. The rx and ry can be used to make the corners rounded.
<rect fill="#eaeaea" rx="6" ry="6" /><- Click me to run
To add some padding to the text we need to understand the from and to attribute paths of the animation. The first two parameters after m are the x and y coordinates. The h0 to h500 determine the width of the animation, it should be at least as wide as the text to avoid clipping. If it's longer than the width of the text, then the animation keeps on playing with no changes, this makes the duration visibly inaccurate.
Anyway let's change all the m0 to m16 instead to add some padding on the x axis.
Next to add HTML syntax is quite straight forward. Same formatting as earlier.
<textPath><h1>Hello world</h1></textPath>To add color for the syntax wrap the tokens in a <tspan> element with a fill attribute.
<textPath>
<<tspan fill="red">h1</tspan>>Hello world</<tspan fill="red">h1</tspan>>
</textPath>To create the effect of typing on multiple lines, we just need another animation path and text element. Remember to increase the y coordinate in the animation paths to make the second line below the first.
In order to run animations sequentially we have to do two things.
- Add fill="freeze" to the animate element
- Remove repeatCount="indefinite" from the animate element
This will give us full control over when the animation runs with the begin attribute. The freeze will also keep the text visible once the animation has completed.
We could manually calculate and adjust the starts to be sequential. However, imagine if we have 10 lines and want to change the duration of the first line. We would have to recalculate and change all timings. Luckily you can simply do begin="id1.end+0.1s". This will start the animation 0.1 seconds after the end of animation which has an element id of id1. You can also use ms instead of seconds if you wish.
The animation width also has to be adjusted to match the width of the actual line. This will help keep the speed constant. For example the above animation.
- The first line is 19 characters and 186 pixels
- The second line is 24 characters and 235 pixels
The result is the following animate elements if we want a speed of 0.1s per character.
<animate
  id="first"
  begin="0s"
  dur="1.9s"
  from="m15,25 h0"
  to="m15,25 h186"
/>

<animate
  id="second"
  begin="first.end+0.1s"
  dur="2.4s"
  from="m15,50 h0"
  to="m15,50 h235"
/>
To create an effect of erasing the text we can add another animate with the from and to attribute values flipped.
<animate id="line1" begin="0s" dur="1.25s"
  from="m15,25 h0" to="m15,25 h186" />
<animate id="line1reverse" begin="line2reverse.end" dur="0.25s"
  to="m15,25 h0" from="m15,25 h186" />

<animate id="line2" begin="line1.end+0.1s" dur="1.6s"
  from="m15,50 h0" to="m15,50 h235" />
<animate id="line2reverse" begin="line2.end+0.5s" dur="0.32s"
  to="m15,50 h0" from="m15,50 h235" />
If you want to loop animations, there is a better way than the repeatCount attribute. You can simply use two begin values for the first animate like this begin="0s;lastid.end". Then just make sure your animations make a closed loop with referencing each other in begin attributes.
In preparation of adding more lines let's add some common styles in a <style> element. I really wanted to use var(--css-variables) as the colors from Github. Unfortunately Github adds SVGs in image tags, which do not have access to the css variables of the parent document. This makes it impossible to always match 1 to 1 with the theme Github is using. We can still try to respect the users choice of a theme by adding a media query.
<style>
  rect { fill: #161b22 }
  text { fill: #c9d1d9 }
  .el { fill: #7ee787 }
  .attr { fill: #79c0ff }
  .val { fill: #a5d6ff }
  @media (prefers-color-scheme:light) {
    rect { fill: #f6f8fa }
    text { fill: #24292f }
    .el { fill: #116329 }
    .attr { fill: #0550ae }
    .val { fill: #0a3069 }
  }
</style>
Combining all the things we have learned so far with some tweaking we might end up with something like this.

Looks pretty good!
Let's put it to Github. You can create the SVG wrapped in a link in markdown like this.
[](https://jonniek.github.io/)You can also use HTML syntax. This way the height and width attributes can be set, which can prove quite handy in controlling the result.
<a href="https://jonniek.github.io/">
  <img height="190px" width="100%" src="https://example.com/animation.svg">
</a>
I want it to look as close to possible to a real code block in Github. To see what it should look liked we can edit a README in Github, add the target HTML in a code block and preview it.
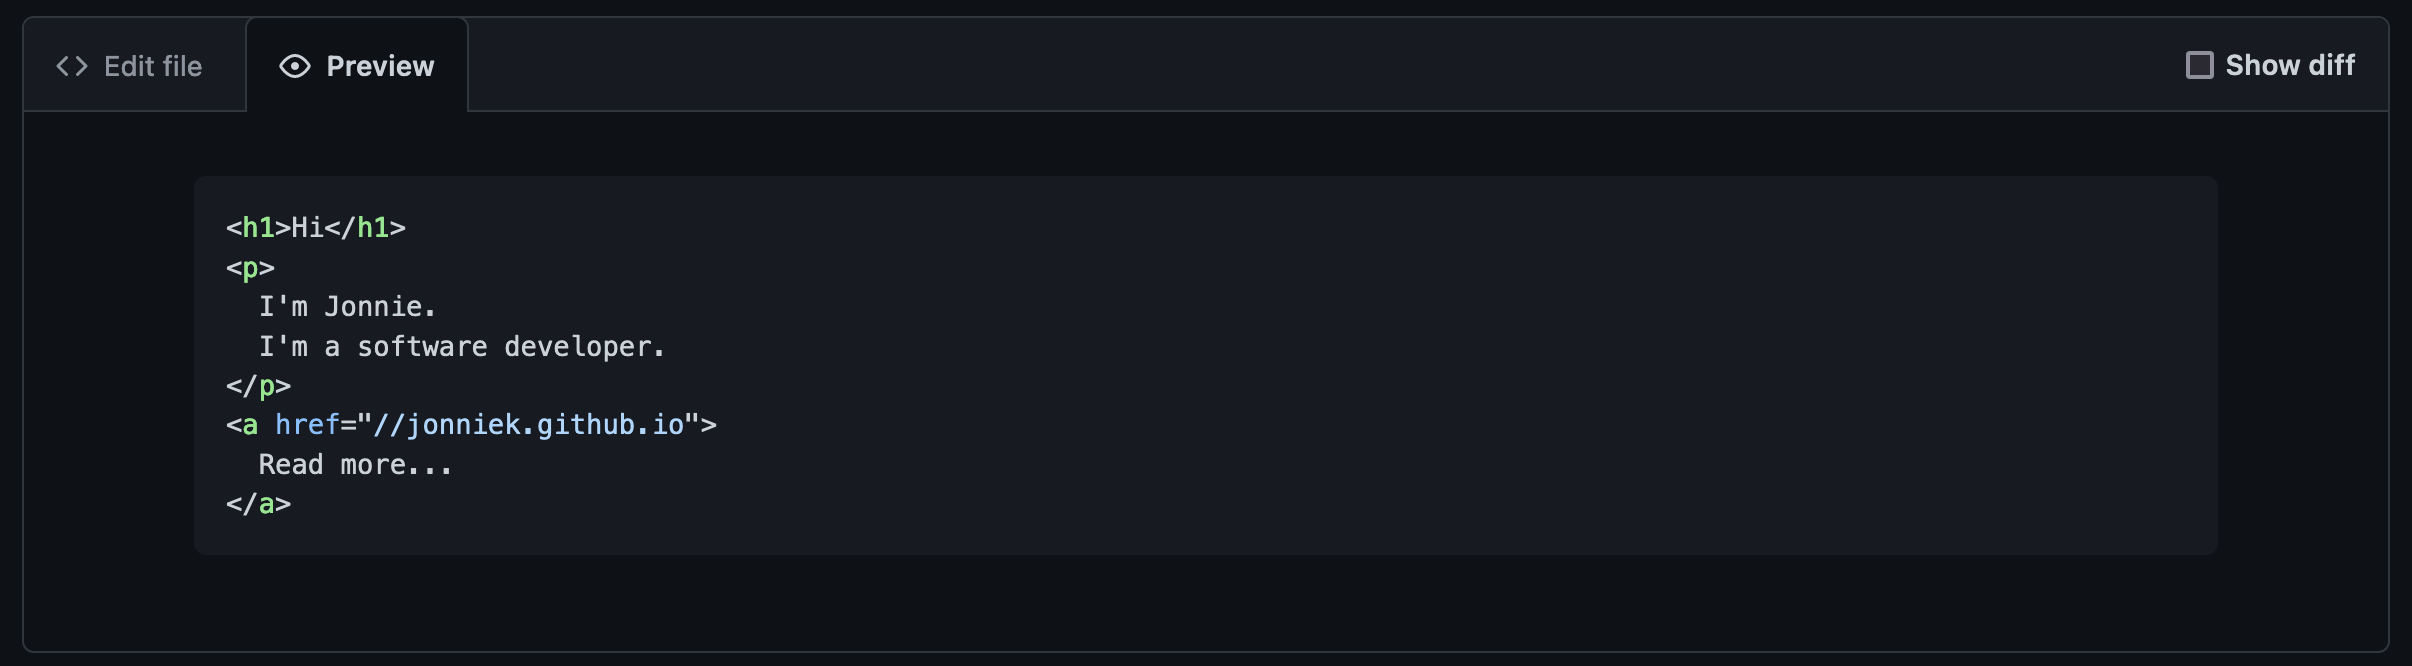
- The height should be a constant 190px
- The padding is 16px in both x and y axis
- Each line is 16.5px tall
- The width of the background is 100% of the parent container
- Every corner of the background is rounded
I was having a lot of trouble trying to make this render exactly like above in Github. But the reason was that I am using Firefox. On Firefox it seems impossible to satisfy all the above requirements. I tried every combination of viewBox, preserveAspectRatio and nested SVGs I could think of. Always one of the following happened.
- Height is too low leading to tiny text
- Text is squished horizontally
- Right side background borders are not rounded
If you open the SVG itself on Firefox it will render correctly, but somehow when used in an img tag it renders in a different way. I think it might be some bug in Firefox SVG rendering.
I really like Firefox. But I don't like it so much that I would give up my quest of imitating a Github code block pixel perfectly. So for now the Firefox rendering will be broken and show text sizes for ants.
If you want to try fixing it for Firefox go ahead and fork my repository. Serve the directory with python3 -m http.server and open the index on Firefox. The limitations are that you can only set the width, height and src attributes from the HTML. Everything else has to be done from the SVG file. Wanted behaviour on all major browsers would be the following.
- Text never scales or stretches and is always aligned to the left side
- Background always grows to 100% width of container and every corner is rounded
- Height of the SVG stays at a constant 190px on all viewport sizes
If you figure it out, please open a pull request!
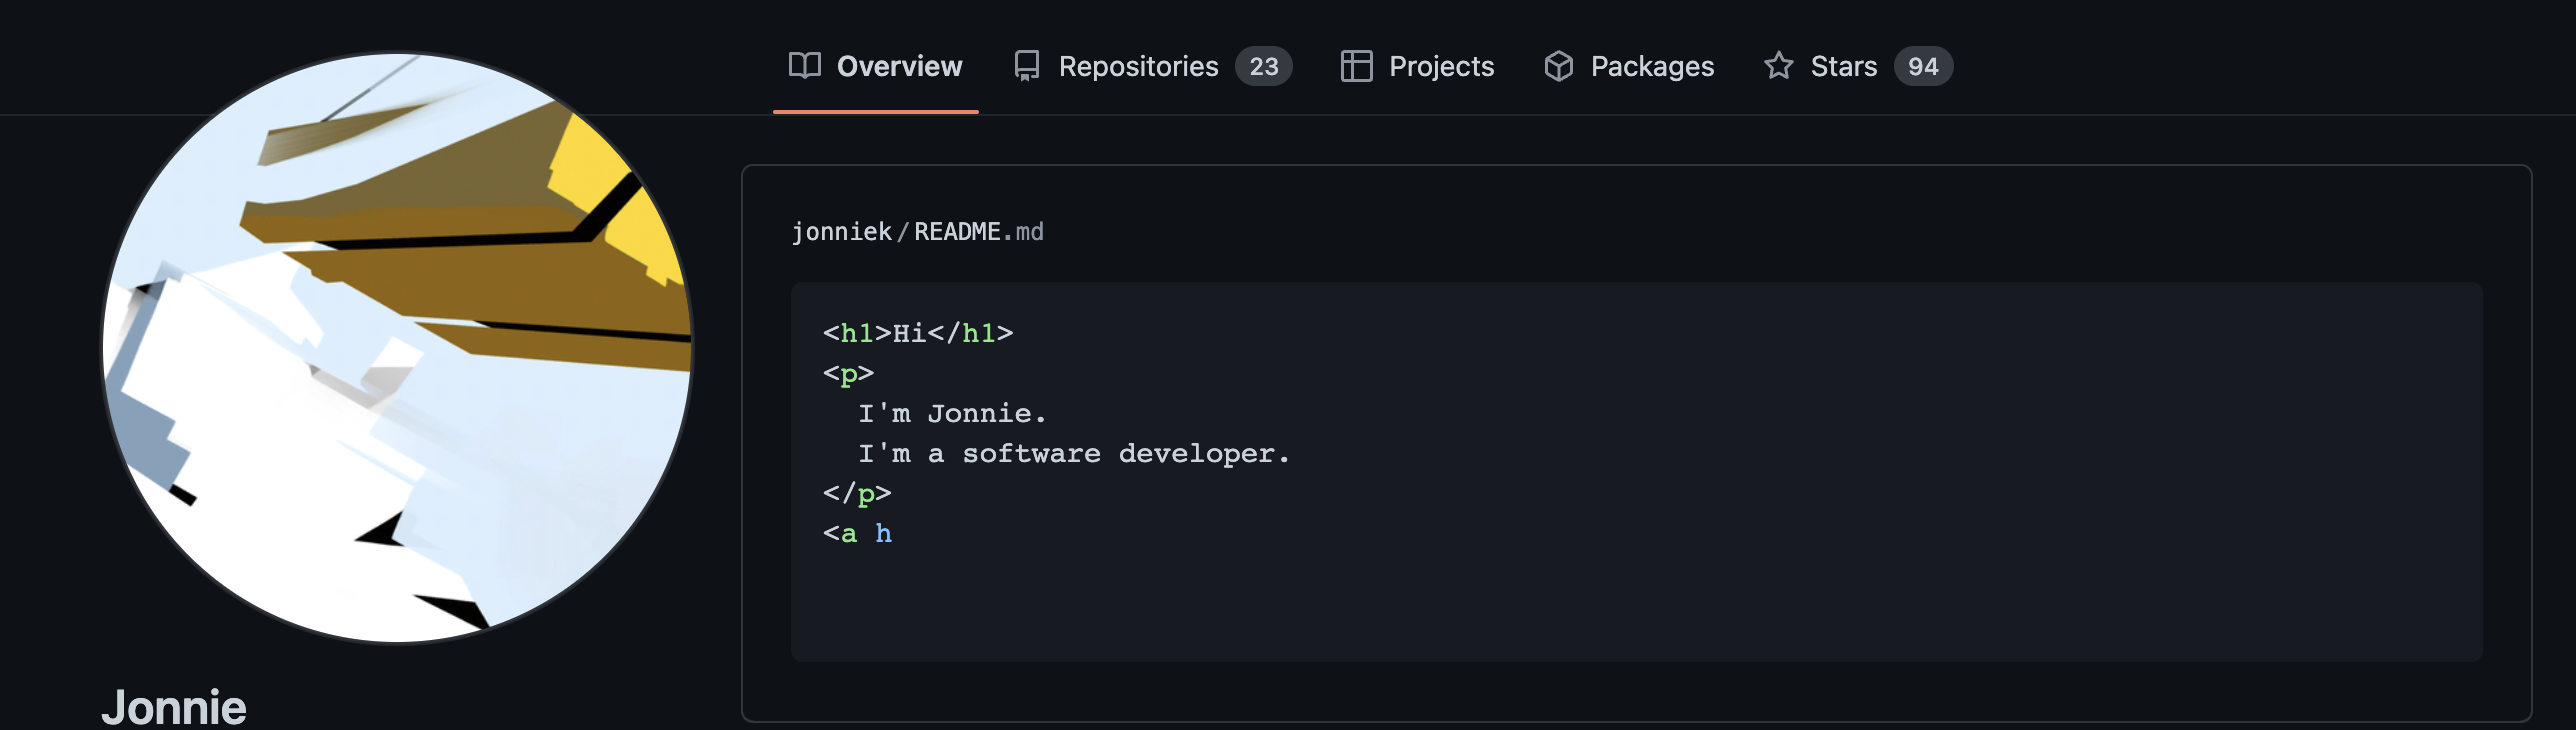
Here is a picture of the final result in my profile.
I hope you found some inspiration from this. Here is some ideas to take this further.
- IDE-like autocomplete of HTML elements. This should be possible by animating the visibility, x and y attributes.
- Some crazy visual effect. Try for example adding in the animation.